How to Use Microcement in Your Home: A Simple Guide
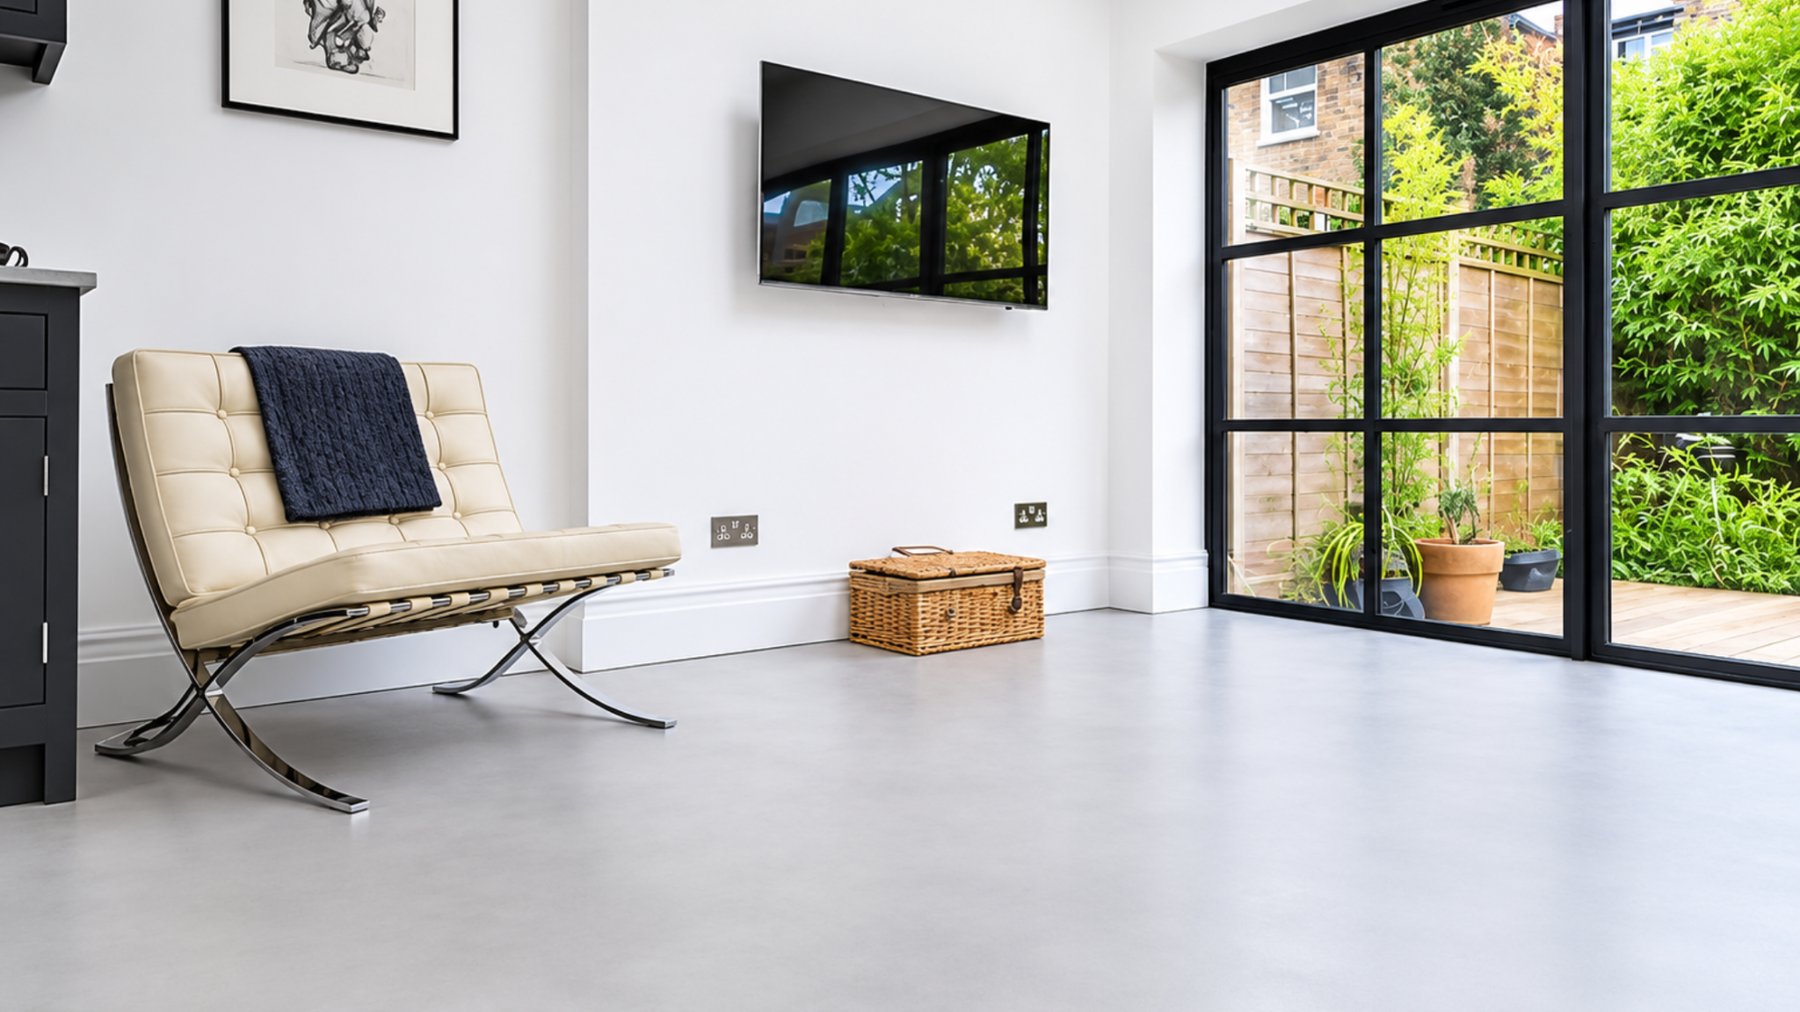
Love the clean, seamless look of microcement but not sure where to start? It's more versatile than most people think, and it doesn't have to mean tearing out your whole home.
Here's what microcement is, where it works, how it's applied, and what to know before you begin.
1. What Is Microcement?
Microcement is a thin, cement-based decorative coating applied in multiple layers over a suitable prepared surface. It creates a continuous finish with minimal visible joints, making it an alternative to conventional tiles and some other surface finishes.
Depending on the system selected, microcement can be used on floors, walls, vanity tops, kitchen surfaces and other interior features. It is available in different colours, textures and finishes, allowing homeowners to create anything from a soft, natural cement appearance to a more contemporary minimalist look.
Unlike traditional tiles, microcement does not rely on a grid of grout lines for its appearance. This can make rooms feel more visually connected and easier to clean.
However, microcement is not a one-step paint product. It requires suitable primers, base coats, finishing layers and a compatible protective sealer. Professional painting services in Singapore can help ensure the right application system is selected based on the surface condition and how the area will be used, giving the finish better durability and protection.
Where Can You Use Microcement?
- 1. Floors. Living rooms, hallways and bedrooms look calm and spacious without grout lines breaking things up. It pairs especially well with natural wood and neutral colours.
- 2. Bathrooms. Matching floors and walls create a cohesive, modern look. Just make sure the waterproofing underneath is sound, and ask about slip resistance for shower floors.
- 3. Kitchen backsplashes. A continuous surface looks sleek with modern cabinets. Choose a sealer made for grease, stains and frequent cleaning.
- 4. Feature walls. A textured microcement wall behind the sofa or TV adds depth without needing bold patterns.
- 5. Staircases and vanity tops. Possible too, with the right system and careful detailing on edges.
Can You Apply It Over Existing Tiles?
Often, yes. If your tiles are firmly bonded and stable, microcement can go right over them. That means less hacking, less dust and less mess.
But a good installer will check for loose or hollow tiles, cracks and signs of dampness first. Understanding the Benefits of Microcement for Modern Homes also means ensuring the existing surface is stable and properly prepared. Microcement should never be used to hide a leak or an unstable surface.
How Microcement Is Applied
The exact system depends on the product, but the process usually looks like this:
- Inspect. Check the surface for cracks, loose areas and moisture problems.
- Prepare. Clean, repair and prime the surface. This step matters most. Reinforcement mesh may be used over tiles to stop joints from showing through.
- Base coats. Thin layers go on first, each left to dry properly. Rushing here affects how well the finish holds up.
- Finishing coats. These create the final colour and texture, from smooth to softly textured. Since it's hand-applied, some natural variation is part of the charm.
- Seal and cure. A compatible sealer protects against moisture, stains and wear. Then the surface needs time to cure before heavy use.
Choosing Your Finish
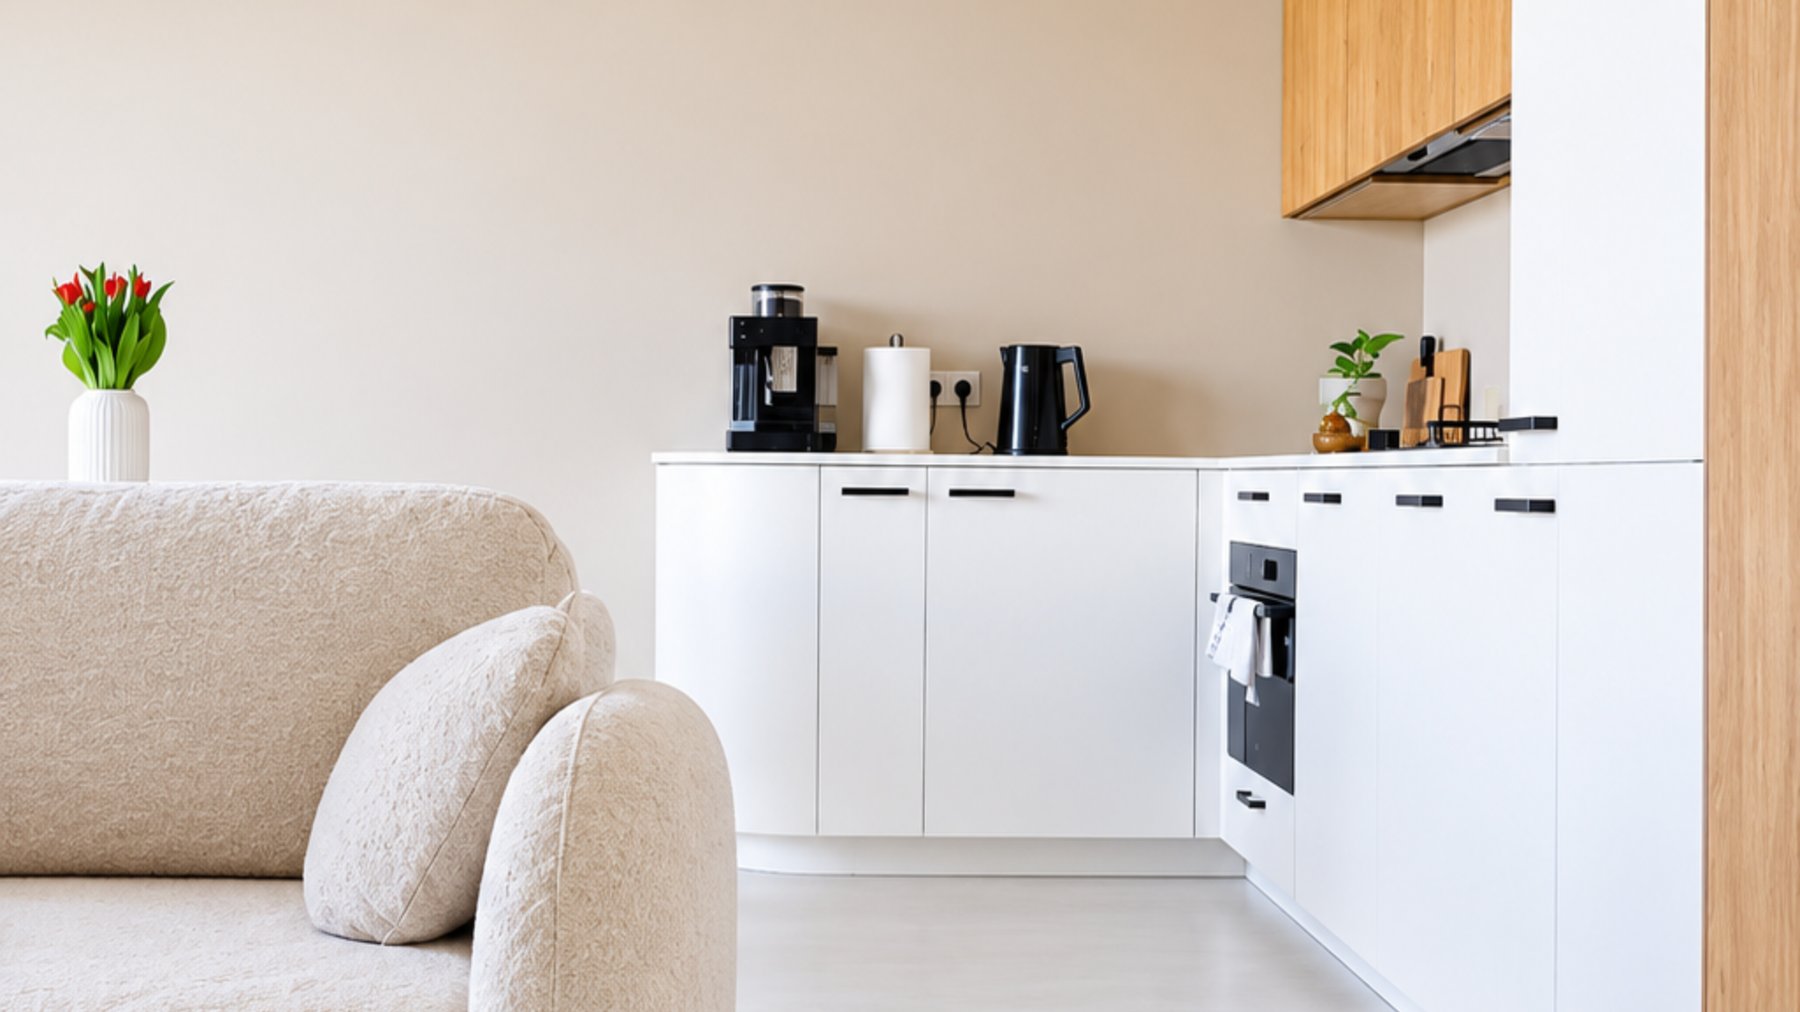
Start with colour. Warm beige, soft grey, off-white and taupe suit most modern homes. Always look at a sample in your own lighting, because colours can look quite different at home than in a showroom.
Then pick your texture. Smoother finishes suit minimalist living rooms and kitchens. More textured finishes work beautifully on feature walls.
Finally, match the sealer to the space. A shower floor, a kitchen counter and a bedroom wall all have different needs, so tell your installer how the area will be used.
Keeping It Looking Good
- Clean with a soft mop or cloth and a pH-neutral cleaner
- Wipe up spills like oil, coffee and sauces quickly
- Use furniture pads and avoid dragging heavy items
- Ask your installer when the sealer may need refreshing
Mistakes to Avoid
- Ignoring the surface underneath. Cracks and dampness need fixing first.
- Picking a finish only for looks. What suits a bedroom wall may not suit a shower floor.
- Rushing the curing. Layers need time to dry.
- Assuming it replaces waterproofing. In wet areas, waterproofing still has to be done underneath.
Thinking of Trying Microcement?
At Tintin Painting, we can look at your existing surfaces and recommend a suitable system for your space. Take a look at our microcement services in Singapore, or get in touch to talk through your plans.
Frequently Asked Questions
Can I apply microcement myself?
Some products are sold for DIY, but a consistent finish takes skill. For floors, bathrooms and counters, an experienced installer is the safer choice.
Can microcement go over bathroom tiles?
Possibly, if the tiles are stable and the waterproofing is in good condition. An installer should check first.
Is microcement waterproof?
It resists water when sealed, but it isn't a waterproofing system on its own.
How long does it take?
It depends on the area and system, as each layer needs drying time. Ask for a written schedule.
Is it easy to maintain?
Yes, with gentle cleaning and the right products. The sealer may need refreshing over time.
Where can I use it at home?
Floors, feature walls, bathrooms, backsplashes, vanity tops and stairs, as long as the system suits the area.
Thinking of trying microcement? WhatsApp us a photo of the space. We'll tell you honestly whether the surface suits microcement, then come down for a free site visit.
WhatsApp Us